
My students, ages 2 through 6, just recently finished up an experimental painting that took each of them about two to three half-hour sessions. The experiment involved changing the texture of smooth treated wood panels and then seeing how acrylic paint would take to it.
I began the lesson by teaching the kids about carving, etching, and engraving into the wood. I showed them my carving tools and demonstrated how to use them. However, carving tools would be too dangerous to let the kids use them without the coordination, practice, and strength to use such tools. I offered them jewelry files instead for the kids to "carve" or "engrave" into a wood panel, but it probably felt more like scratching into the panels for them. I showed the kids how we can change the texture of a smooth surface into a rough surface by using the files. If you are considering doing this project with your little ones, I suggest choosing softer woods that can be easily scratched into.

During the second session, I gave the kids a lesson on how to work with a painter's pallet using acrylic paint, and how to blend colors with plastic pallet knifes (which can be purchased at most arts and craft stores). I used lids from plastic containers from butter spreads and yogurt containers to offer small splotches of acrylic paint on so that each child would have a small pallet to work with. My students could either apply the paint to their wood panels with a pallet knife or a paint brush. Each student also had a rag that they could rub the paint into the scratched surface with to see how the paint responded to the new surface. The children found that it was easy to wipe the paint off of the smooth areas of the wood but that the paint would "stick" to or stain the scratches.


I began the lesson by teaching the kids about carving, etching, and engraving into the wood. I showed them my carving tools and demonstrated how to use them. However, carving tools would be too dangerous to let the kids use them without the coordination, practice, and strength to use such tools. I offered them jewelry files instead for the kids to "carve" or "engrave" into a wood panel, but it probably felt more like scratching into the panels for them. I showed the kids how we can change the texture of a smooth surface into a rough surface by using the files. If you are considering doing this project with your little ones, I suggest choosing softer woods that can be easily scratched into.

Here is an image of the first session of carving (or scratching) on wood panels. Some of the kids chose to have taped boarders so that when they were completely finished with all lessons, the untouched wood would frame the painting.
During the second session, I gave the kids a lesson on how to work with a painter's pallet using acrylic paint, and how to blend colors with plastic pallet knifes (which can be purchased at most arts and craft stores). I used lids from plastic containers from butter spreads and yogurt containers to offer small splotches of acrylic paint on so that each child would have a small pallet to work with. My students could either apply the paint to their wood panels with a pallet knife or a paint brush. Each student also had a rag that they could rub the paint into the scratched surface with to see how the paint responded to the new surface. The children found that it was easy to wipe the paint off of the smooth areas of the wood but that the paint would "stick" to or stain the scratches.

Here you can see how we used the lids to create our pallet.

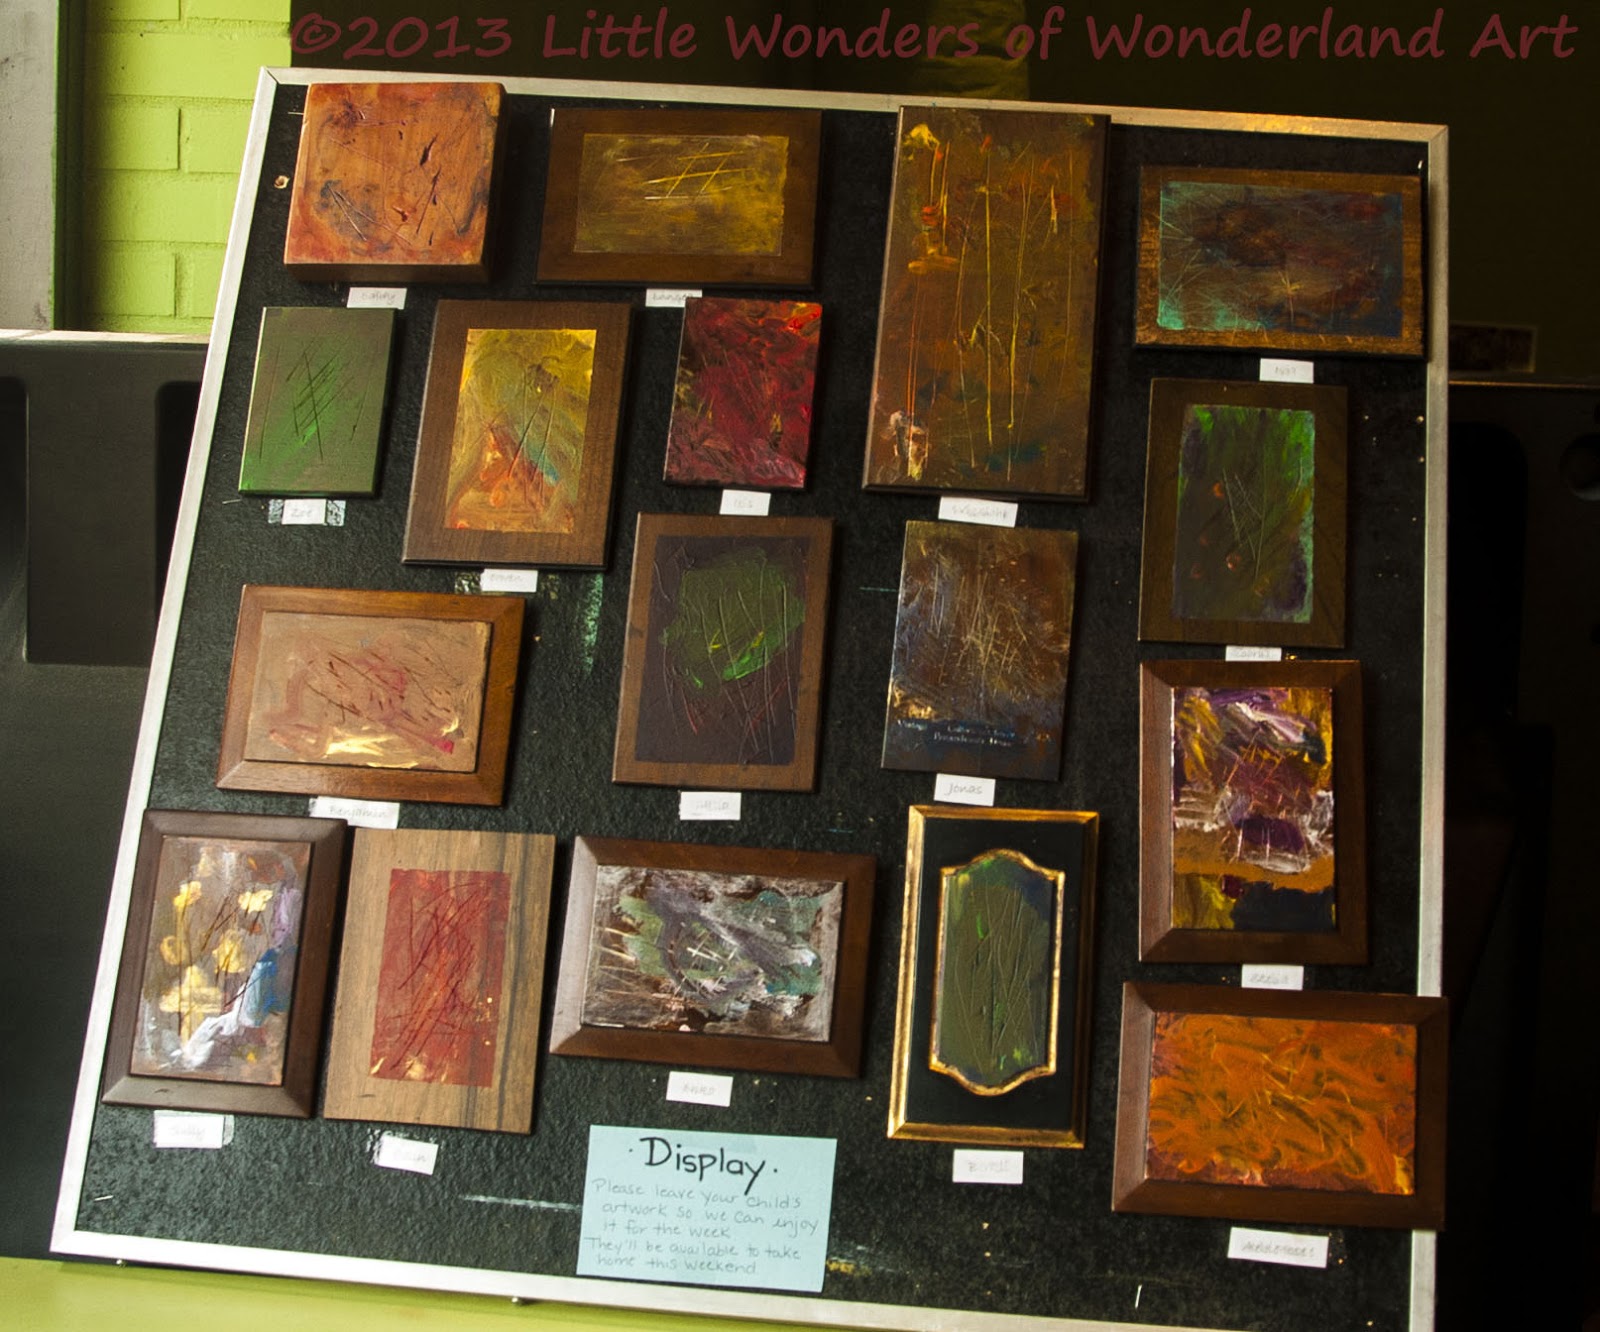
Each painting turned out very unique and original. After the kids felt that their paintings were finished, we displayed them for the week on a bulletin board, below.
To view the paintings closely, you can check out our gallery here:
Each painting is offered in prints in the form of blank Greetings Cards.
Thanks for stopping by!
~Angelique Bowman
No comments:
Post a Comment